
Rolling dough is an important skill in the kitchen. As a pastry chef, I’ve rolled thousands of doughs and picked up all the best tricks to get it just right every time.
So if you want to roll dough like a pro, keep reading. I’ll share tips to help you get beautifully rolled dough every time—whether you’re making a flaky pie crust or chocolate chip cookies.
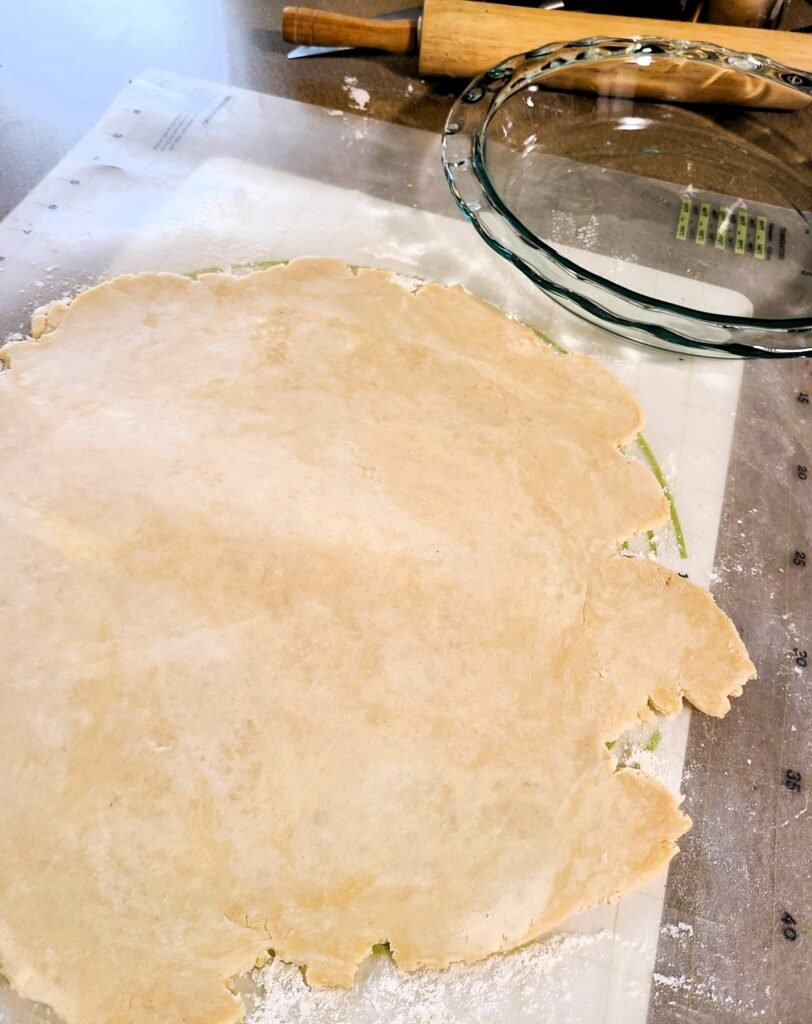
How to Roll Out Dough

Step 1: Lightly Flour the Surface
Flour the dough and work surface just enough to stop it from sticking.
Expert Tip: I’ve found that if you use too much flour, you can simply dust it off with a brush or your hand.
Step 2: Position Your Hands
Place your fingertips on each end of the rolling pin.
Expert Tip: Use a light touch. Use gentle, even pressure.
Step 3: Roll the Dough
Keep your fingers slightly bent and press down on the pin to roll it across the dough, letting it roll into the palms of your hands.
Expert Tip: Try to apply even pressure as you roll and keep it nice and smooth. Don’t press too hard! This can cause the dough to tear.
Step 4: Rotate and Repeat
Roll the pin back to where you started. If you’re making a circle, turn the dough one-eighth of a turn. For a rectangle or square, turn it a quarter turn.
Expert Tip: When I notice the dough starting to stick, I gently lift it and add a bit more flour underneath. Sometimes I flip it over too, so the flour is even on both sides.
Step 5: Roll to Desired Thickness
Repeat the rolling and turning until the dough reaches the thickness you want. For most pie recipes, this will be 1/8″ thick. For cinnamon rolls, it can be 1/4″ to 3/4″ thick.
Expert Tip: Start rolling from the center of the dough and work your way outwards. This stops the edges from becoming too thin.

General Tips for Rolling Dough Smoothly
- Keep It Cool: Cold dough is easier to roll and less likely to stick. If your dough starts to get too soft or sticky, pop it in the fridge for a few minutes to firm it up.
- Rest the Dough: Whenever I notice the dough resisting or springing back, I let it rest for a few minutes. This relaxes the gluten and makes it easier for me to roll.
- Run your Hands Over the Surface: Sliding your hands over the surface of the dough helps you feel inconsistencies. If you notice areas that are thicker than others, roll it out until you feel an even thickness.
- Practice Makes Perfect: Pastry rolling takes practice, so don’t worry if it’s not perfect the first time. The more you do it, the better you’ll get!
Tools for Dough Rolling to Make it Easier
Try some of these essential dough rolling tools:
Rolling Pin
Every home needs a good rolling pin. Here’s my take on the different types:
- Wooden Dowel Rolling Pin — This is my preferred type, and what is used in most professional kitchens. It helps get even pressure on large amounts of dough.
- Traditional Wooden Pin — Easy to use and great for home bakers. However, the axle can break under too much pressure, and the rolling width is shorter than a dowel, so it’s better for smaller amounts of dough.
- Marble Rolling Pin— The marble keeps dough cool while rolling – great for pastry dough, fondant, or anything that has a high butter content. It’s also quite heavy, which helps you get an even pressure without much work. Bonus – they’re easy to clean!
- French Rolling Pin — Tapered ends help you achieve nice round edges. This makes it perfect for pies, tarts, and pizza dough.
- Wooden Belan (Indian Rolling Pin) — Similar to the French rolling pin, a Belan is a long, slim rolling pin with tapered edges. It’s used for getting perfectly thin, round rotis, parathas, and chapatis.
Pastry Mat
I love using a silicone pastry mat because it gives me a non-stick surface, making rolling dough easier. It saves me the hassle of cleaning sticky dough chunks off my granite countertops. They also usually have measurement guides to help you roll the dough to the right size.
Rolling Pin Rings
For beginners, these handy rolling pin rings are great. They attach to the ends of your rolling pin to help you get the right thickness every time.
You can even buy them in a bundle with a rolling in and silicone mat, which makes a great gift for any budding baker!
Other Useful Dough Rolling Tools
- Dough Scraper — Soft silicone scraper, great for scraping dough out of a bowl or lifting off a surface without tearing. Also handy for cutting and dividing dough evenly.
- Bench Knife — Helps you move and cut dough and butter with precision. Also useful for scraping up stuck dough from a flat surface.
- Flour Duster — Sprinkles just the right amount of flour on your work surface. Keeps your dough light and easy to work with. I keep multiple in my cupboard – one for flour, one for powdered sugar, and one for semolina (for making pizza!)
- Pastry Brush — Useful for brushing off extra flour after rolling. Leaves your baked goods with a clean, smooth finish.
- Non-slip Cutting Board Mat — This cutting board safety mat is used in professional kitchens to stabilize cutting boards while chopping. It’s handy to keep in the house, because you can also roll dough on your cutting board. Having this or a silicone pastry mat is a must.
Recipes That Use Rolled Dough
Looking to perfect your technique? Try some of my recipes that use dough:
- Easy All-Butter Pie Crust – A great starting point for all your pie recipes.
- Lavender Lemon Scones – A simple recipe with a touch of elegance. I even offer DIY baking kits!
- Cardamom Cinnamon Rolls – Make them hot and fresh, for those cold, winter mornings.
