Looking to improve your baking skills? Learn all about different baking mixing methods and how they impact your baked goods with my guide!
Mixing ingredients the right way is crucial in baking. If you’ve ever ended up with chewy pancakes or a cake that didn’t rise, the problem might be in how you mixed them.
After years of baking, I’ve learned that the technique really matters.
Master the right methods, and you’ll get cakes that are light and fluffy instead of dense. So let me walk you through the basic mixing methods that can improve your baking!
The Different Baking Mixing Methods
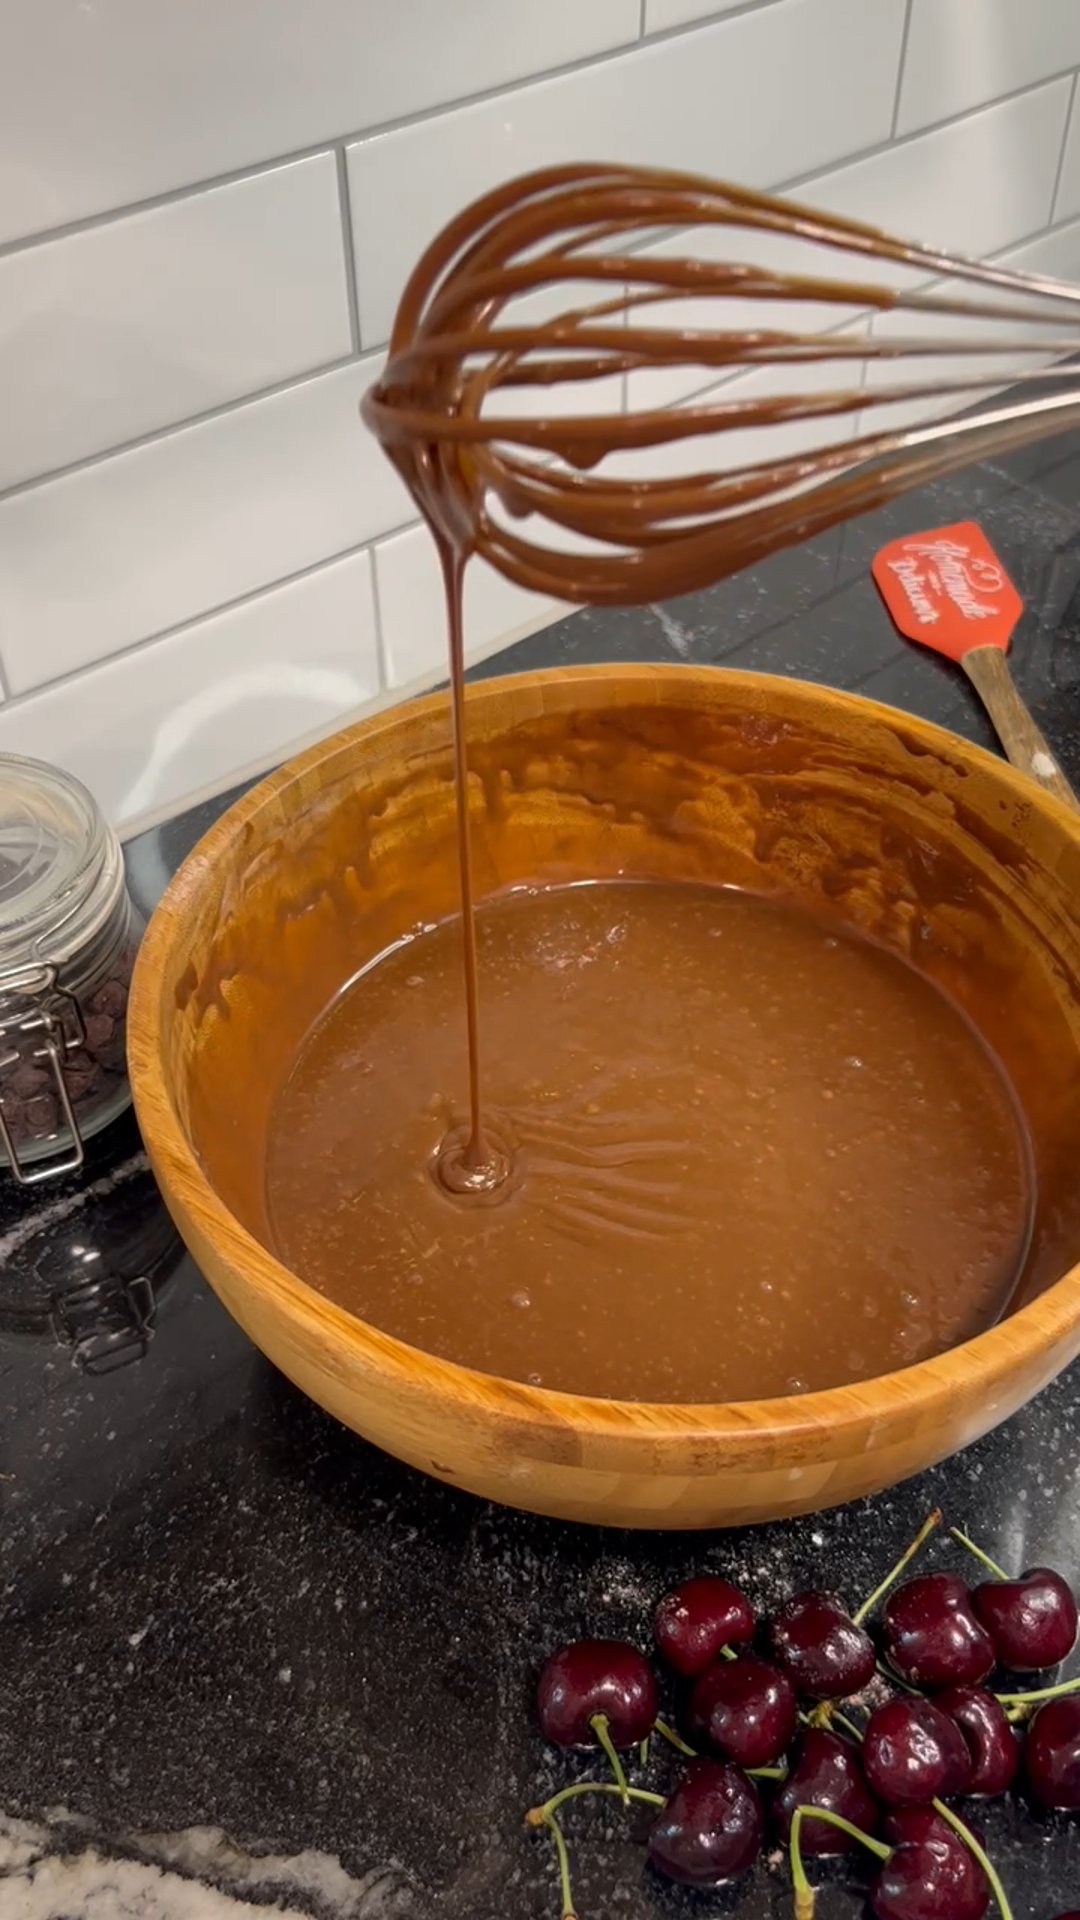
The Cake Method: Creaming Butter and Sugar Together

When baking cake recipes or making cookies, creaming the butter and sugar together properly is important.
It’s not just a mixing technique – it plays a role in leavening and giving structure to your baked goods.
In my Raspberry Charlotte Cake, I use this creaming method to make the cake soft and tender.
To do it, beat the butter and sugar until the mixture is pale and creamy.
You need to work fast, it’s all about forcing air into the mixture. Aim to mix for four to five minutes.
Expert Tip: Add eggs or egg yolks at the last stage of creaming. And make sure they’re room temperature—soak in hot water for ten minutes if straight from the fridge!
For the best results, I recommend using an electric mixer. It makes the process faster and helps you get that perfect texture.
The Biscuit Method: Cutting Cold Butter Into Dry Ingredients
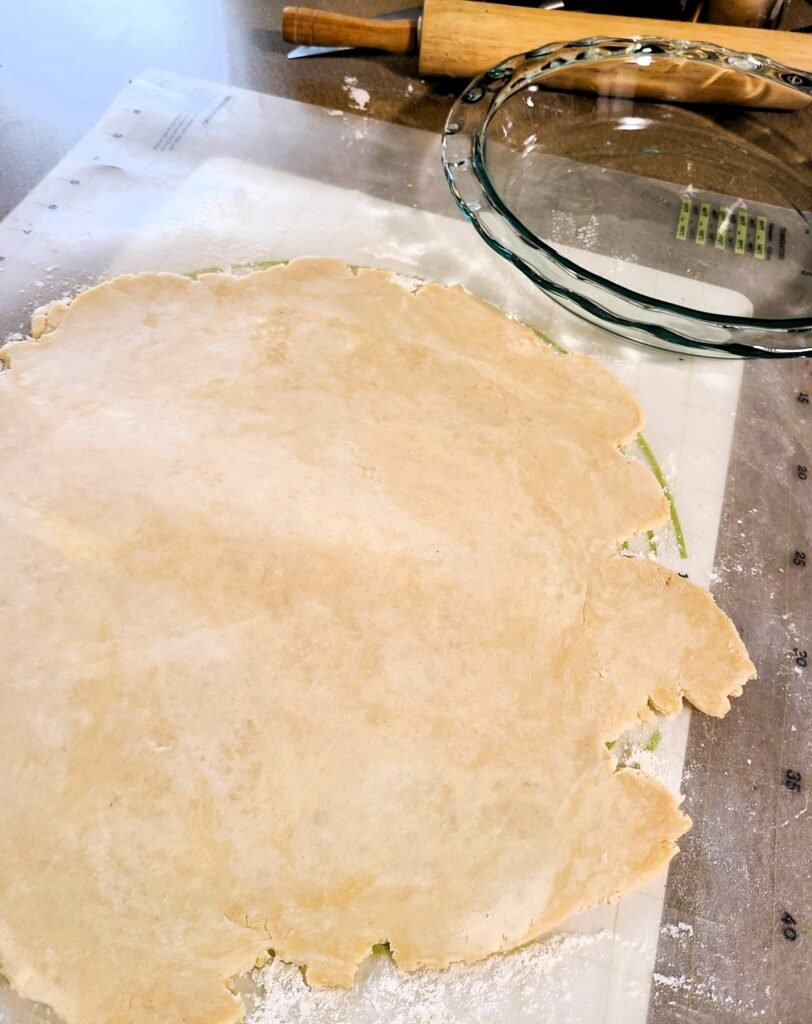
The biscuit method is all about creating flaky, tender layers by cutting cold butter into your dry ingredients before adding any liquids.
It’s used in my Coconut Shrimp Bay Biscuits and Lavender Lemon Scones recipes. It’s also important when making pie crust.
To do this, start with very cold butter—straight from the fridge is best.
Cut the butter into small cubes before adding it to your dry ingredients.
You can use an electric mixer, a pastry cutter, two knives, or even your fingertips to gently work the butter into the flour.
Try to work quickly and stop once the mixture resembles coarse crumbs.
Expert Tip: My #1 tip for fast, easy biscuit, scone, and pie dough is using a Kitchen-aid Stand Mixer with the paddle attachment to cut the butter into the flour.
The Muffin Method: Mixing Wet and Dry Ingredients Separately
The muffin method is perfect for quick breads, pancakes, and muffins. It involves mixing your wet and dry ingredients separately before gently combining them.
In my Savoury Dutch Baby Pancake recipe, this technique helps create a tender and moist texture. The key is to avoid overmixing; a few lumps in the batter are okay.
Expert Tip: Don’t overmix! Overmixing can lead to dense, tough baked goods.
The Basic Bread Mixing Process

The basic bread mixing process is where the magic of baking truly begins. It’s all about developing gluten, which gives bread its structure and chewiness.
For my Cardamom Cinnamon Rolls, kneading is crucial—it helps build the gluten network that gives bread its rise and texture.
Kneading involves pressing, folding, and stretching the dough repeatedly. You can do this by hand or with a stand mixer fitted with a dough hook.
The process usually takes about 8 to 10 minutes by hand or 5 to 7 minutes with a mixer.
Expert Tip: You’ll know the dough is ready when it’s smooth, stretchy, and springs back when lightly pressed. To keep your counters clean, try kneading on a silicone pastry mat.
Carefully Folding in Ingredients
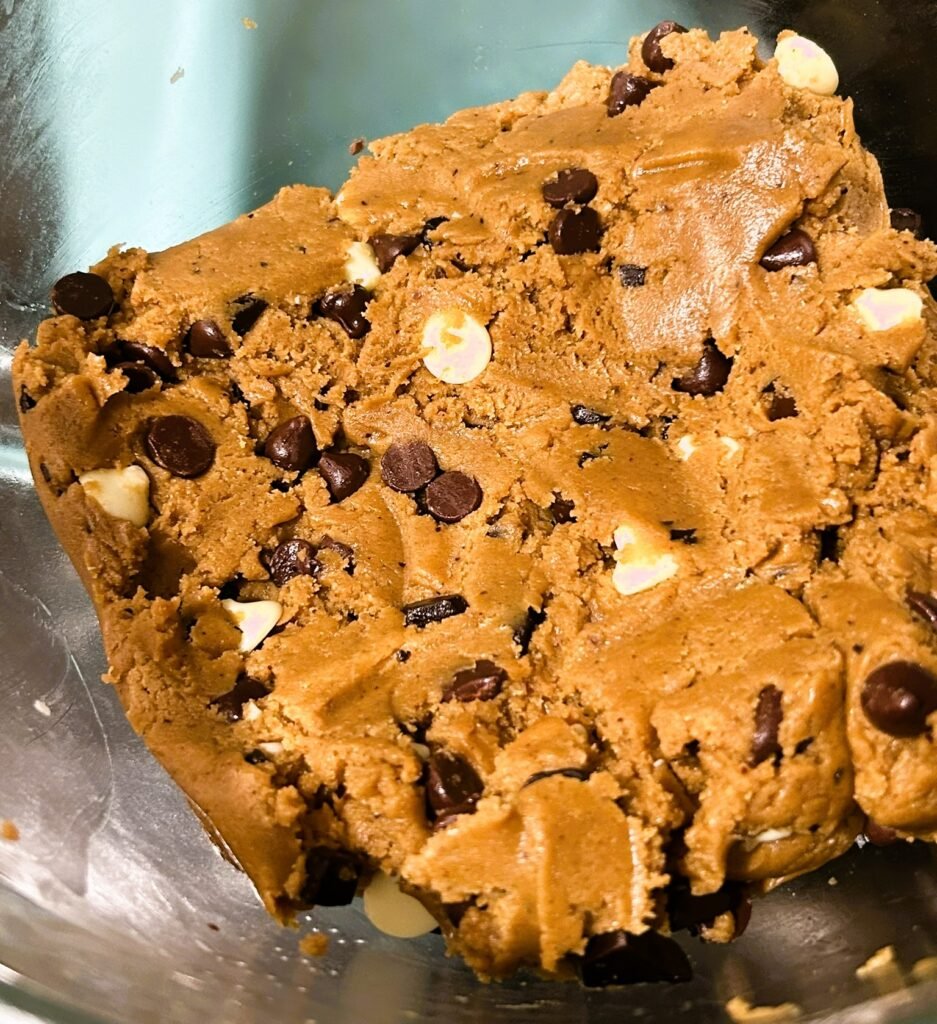
When you’re adding delicate ingredients like chocolate chips, fruits, whipped egg whites, or light batters, it’s important to be gentle.
This helps keep their texture intact and avoids breaking them up.
In my recipes for Pumpkin Bread, Cranberry Cornbread, and Red Velvet White Chocolate Chip Cookies, I carefully fold certain ingredients in until they’re just mixed.
Use broad, scoop-like motions from the outside of the bowl—and be gentle!
Expert Tip: A rubber or silicone spatula works best, though you can use a wooden spoon.
